Now we need connect all of our views, layouts and activities. In order to do this, we need a functionality that can call and invoke another page or activity. This is usually done through the class Intent.
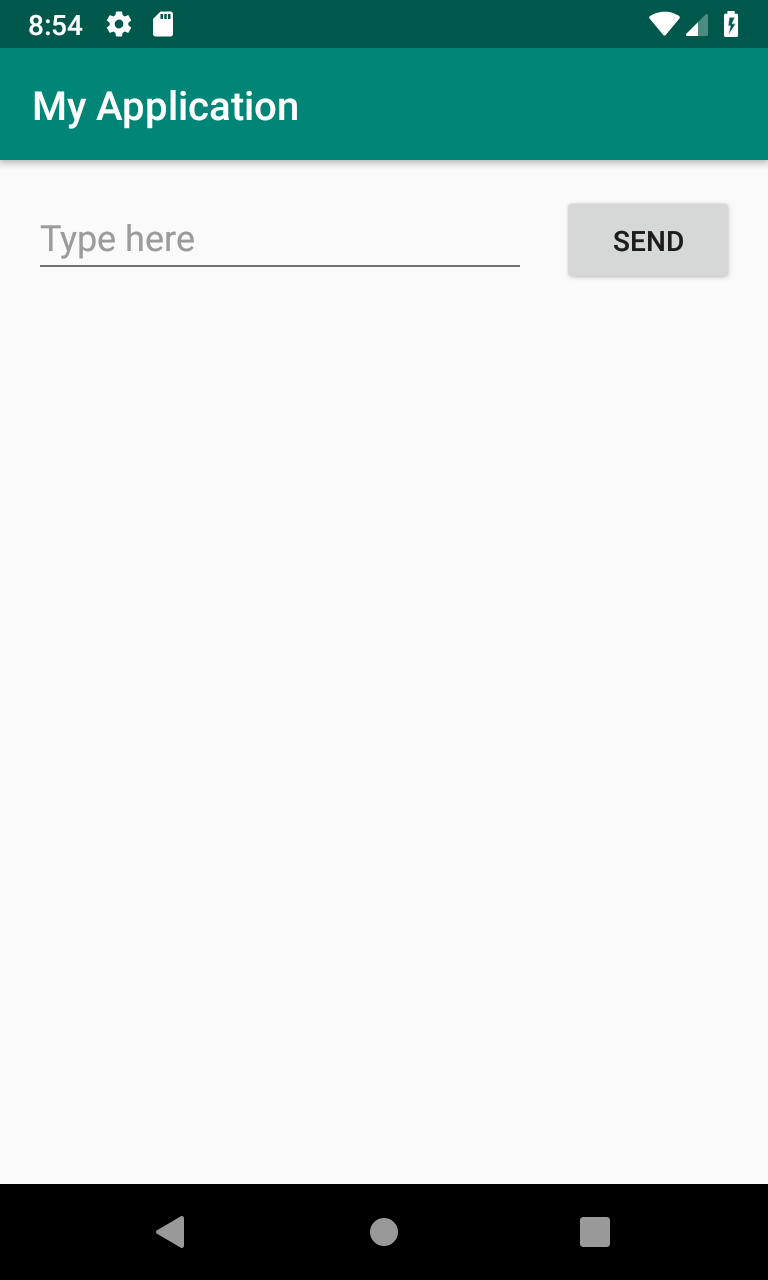
In this section, we will be creating an Android application that will look like this:

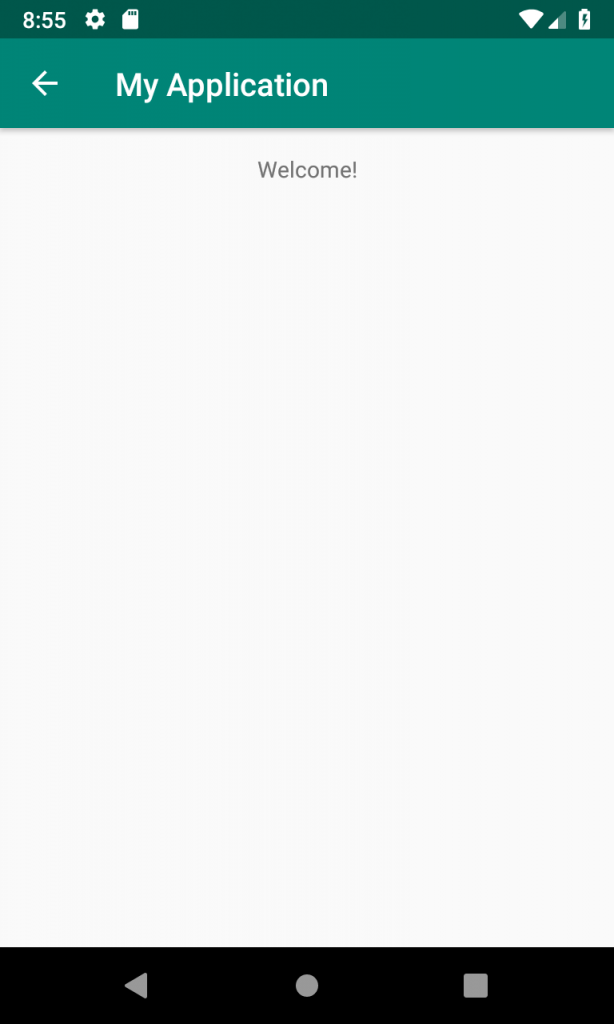
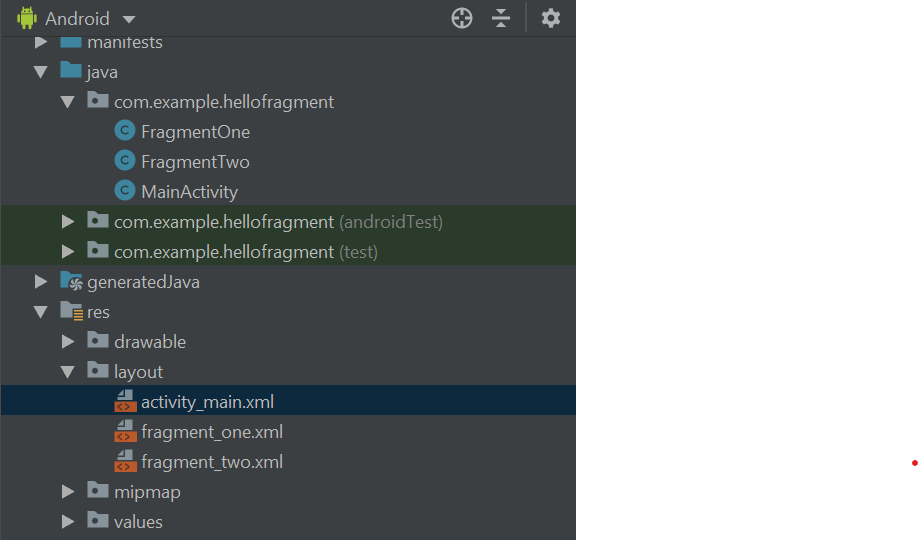
This example is taken from the Android documentation. It is composed of two activities, MainActivity and DisplayMessageActivity. The MainActivity accepts a text input and passes the data to DisplayMessageActivity. The DisplayMessageActivity picks up the data and displays it the in the page. Here is the project structure of our HelloIntent program.
Let us now start creating our application. Open Android Studio (if it is not yet opened) and create an empty project named HelloIntent and accept all the default values. Once created, you will have the default MainApplication.java and activity_name.xml files generated.
Let us now define the values that we will be using in our application. Let us define these in the strings.xml.
strings.xml
<resources>
    <string name="app_name">HelloIntent</string>
    <string name="edit_message">Type here</string>
    <string name="button_send">Send</string>
</resources>
Now, go to activity_main.xml and define the layout of our main activity.
activity_main.xml
<?xml version="1.0" encoding="utf-8"?>
<android.support.constraint.ConstraintLayout
    xmlns:android="http://schemas.android.com/apk/res/android"
    xmlns:app="http://schemas.android.com/apk/res-auto"
    xmlns:tools="http://schemas.android.com/tools"
    android:layout_width="match_parent"
    android:layout_height="match_parent"
    tools:context="com.example.hellointent.MainActivity">
    <EditText
        android:id="@+id/editText"
        android:layout_width="0dp"
        android:layout_height="wrap_content"
        android:layout_marginStart="16dp"
        android:layout_marginLeft="16dp"
        android:layout_marginTop="16dp"
        android:ems="10"
        android:hint="@string/edit_message"
        android:inputType="textPersonName"
        app:layout_constraintEnd_toStartOf="@+id/button"
        app:layout_constraintHorizontal_bias="0.5"
        app:layout_constraintStart_toStartOf="parent"
        app:layout_constraintTop_toTopOf="parent" />
    <Button
        android:id="@+id/button"
        android:layout_width="wrap_content"
        android:layout_height="wrap_content"
        android:layout_marginStart="16dp"
        android:layout_marginEnd="16dp"
        android:onClick="sendMessage"
        android:text="@string/button_send"
        app:layout_constraintBaseline_toBaselineOf="@+id/editText"
        app:layout_constraintEnd_toEndOf="parent"
        app:layout_constraintHorizontal_bias="0.5"
        app:layout_constraintStart_toEndOf="@+id/editText" />
</android.support.constraint.ConstraintLayout>
After having the layout, let us now add some functionality. From the MainActivity.java, let us add a method that will call the DisplayMessageActivity and pass the data to that activity.
MainActivity.java
package com.example.hellointent;

import android.content.Intent;
import android.support.v7.app.AppCompatActivity;
import android.os.Bundle;
import android.view.View;
import android.widget.EditText;

public class MainActivity extends AppCompatActivity {
    public static final String EXTRA_MESSAGE = "com.example.myapplication.MESSAGE";

    @Override
    protected void onCreate(Bundle savedInstanceState) {
        super.onCreate(savedInstanceState);
        setContentView(R.layout.activity_main);
    }

    /** Called when the user taps the Send button */
    public void sendMessage(View view){
        Intent intent = new Intent(this, DisplayMessageActivity.class);
        EditText editText = findViewById(R.id.editText);
        String message = editText.getText().toString();
        intent.putExtra(EXTRA_MESSAGE, message);
        startActivity(intent);
    }
}
Because we have not created the DisplayMessageActivity yet, an error is expected to be shown. Let us now create the new activity by right-clicking on the app -> New –> Activity –> Empty Activity. Name the activity as
DisplayMessageActivity and click on the Finish button. Use below code for the DisplayMessageActivity.java program.
DisplayMessageActivity.java
import android.content.Intent;
import android.support.v7.app.AppCompatActivity;
import android.os.Bundle;
import android.widget.TextView;

public class DisplayMessageActivity extends AppCompatActivity {

    @Override
    protected void onCreate(Bundle savedInstanceState) {
        super.onCreate(savedInstanceState);
        setContentView(R.layout.activity_display_message);

        // Get the Intent that started this activity and extract the string
        Intent intent = getIntent();
        String message = intent.getStringExtra(MainActivity.EXTRA_MESSAGE);

        // Capture the layout's TextView and set the string as its text
        TextView textView = findViewById(R.id.textView);
        textView.setText(message);
    }
}
We also need to modify the layout for this activity so that it will be able to display the data that we received. Modify the layout acivity_display_message.xml with the following code.
activity_display_message.xml
<?xml version="1.0" encoding="utf-8"?>
<android.support.constraint.ConstraintLayout xmlns:android="http://schemas.android.com/apk/res/android"
    xmlns:app="http://schemas.android.com/apk/res-auto"
    xmlns:tools="http://schemas.android.com/tools"
    android:layout_width="match_parent"
    android:layout_height="match_parent"
    tools:context=".DisplayMessageActivity">

    <TextView
        android:id="@+id/textView"
        android:layout_width="wrap_content"
        android:layout_height="wrap_content"
        android:layout_marginTop="16dp"
        android:text="TextView"
        app:layout_constraintEnd_toEndOf="parent"
        app:layout_constraintStart_toStartOf="parent"
        app:layout_constraintTop_toTopOf="parent" />
</android.support.constraint.ConstraintLayout>
With the above code, you can already run the program as is. But in order for us include some basic navigation, modify the manifest file with the following code.
AndroidManifest.xml
<?xml version="1.0" encoding="utf-8"?>
<manifest xmlns:android="http://schemas.android.com/apk/res/android"
    package="com.example.hellointent">
    <application
        android:allowBackup="true"
        android:icon="@mipmap/ic_launcher"
        android:label="@string/app_name"
        android:roundIcon="@mipmap/ic_launcher_round"
        android:supportsRtl="true"
        android:theme="@style/AppTheme">
        <activity android:name=".DisplayMessageActivity"
            android:parentActivityName=".MainActivity">
            <!-- The meta-data tag is required if you support API level 15 and lower -->
            <meta-data
                android:name="android.support.PARENT_ACTIVITY"
                android:value=".MainActivity" />
        </activity>
        <activity android:name=".MainActivity">
            <intent-filter>
                <action android:name="android.intent.action.MAIN" />

                <category android:name="android.intent.category.LAUNCHER" />
            </intent-filter>
        </activity>
    </application>
</manifest>
Now, that is our HelloIntent Android application. Run the Android application and try testing with some weird data.